SWR drainage system is used for drainage of soil waste and rainwater in residential, commercial, and industrial buildings with many advantages over the conventional piping system. It is a maintenance-free solution and offers long life without rust and corrosion. They are used to get rid of human waste through a well-connected drainage pipes network.
 The Idol SWR drainage system is extremely versatile, tough, and long-lasting, with high tensile and impact strength. It is also resistant to scale formation, rusting, weathering, and chemical action/reactions. It is virtually immune to bacterial, fungal, microorganism, and bug attacks. As a result, the SWR drainage system is a long-term solution for building drainage, with a minimum service life of 50 years. Aside from the numerous advantages, it is less expensive than conventional drainage systems.
FEATURES OF SWR DRAINAGE SYSTEM
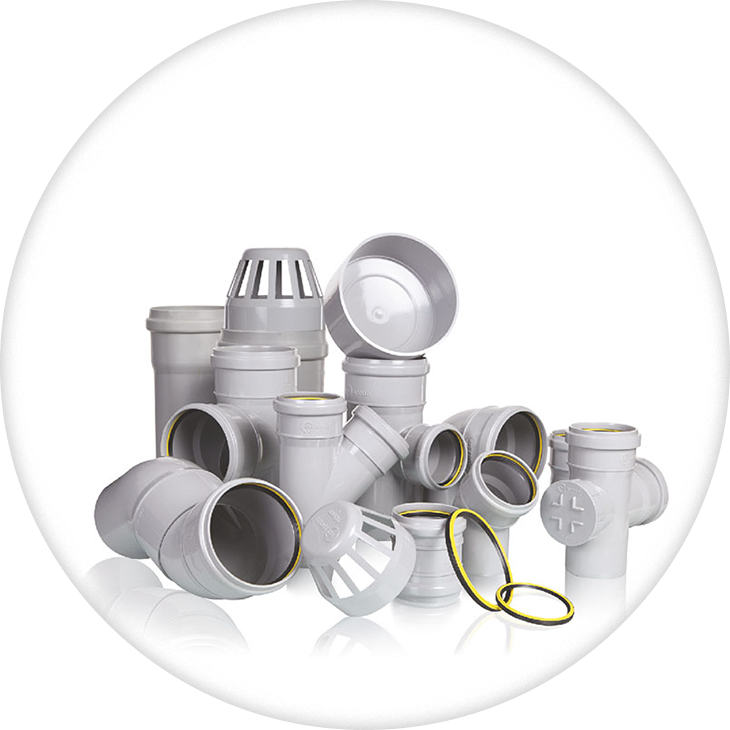
1.) Lighter in weight as compared to conventional metal pipes. The SWR drainage system is made up of pipes and a variety of fittings with various traps and accessories. It completes the system in every way, removing the need for customers to rely on traditional systems for any reason.
2.) These pipes are nonconductive and UV stabilized. It is resistant to the damaging effects of sunshine and weather. It can also be used securely for outdoor installations, providing quick access for cleaning and eliminating obstructions.
3.) No problem of chocking.
4.) Installation is easy with less assembly force. SWR drainage system's modest weight and availability of a unique rubber jointing technique make installation simple.
5.) These pipes have leak-free joints and offer long-term sealing performance. Internal surfaces of pipes and fittings that are mirror smooth and devoid of limitations ensure outstanding flow characteristics. As a result, it frees the S.W.R. drainage system of clogging and drain choke-up issues. The SWR drainage system is leak-proof and built to meet high sanitation standards.
6.) The SWR drainage system is extremely flexible, strong, and long-lasting, with high tensile and impact strength.
7.) Once built, the Idol SWR drainage system requires little maintenance. Idol SWR drainage system is less expensive than any other traditional drainage system.
INSTALLATION GUIDELINES FOR SWR DRAINAGE PIPE (RINGFIT)- EASY AND 100% LEAKPROOF INSTALLATION
STEP 1: CUTTING
Measure and cut the pipes square and straight. Analyze the end of the pipe thoroughly before start cutting. Cut off a minimum of 25mm if any cracks or splits in the ring is noticed.
STEP 2: DEBURRING AND CHAMFERING
The contact between the pipe and socket of the fitting can obstruct due to burrs in and on the pipe end during assembly. These burrs should be removed from both in and outside of the pipe.
STEP 3: FITTING PREPARATION
Wipe out the dirt and moisture from the fitting and end of the pipe by using a clean dry cloth.
STEP 4: CHECK FOR A YELLOW SEAL
Check the socket end for the yellow seal. Make sure that the yellow part of the seal is towards the outside of the socket.
STEP 5: LUBRICANT
Apply the lubricant on the chamfered end of the pipe properly. Ringfit pipes and fittings are joined with the help of lubricant. APL Apollo lubricants are recommended for faster plumbing and leak-free joints.
STEP 6: ASSEMBLY
Rotate the pipe slightly and insert the pipe into the fitting socket immediately. There should be a 12mm gap between the end of the pipe and the socket register. As a result, the pipe can expand without distorting the pipe-work jointing.
INSTALLATION GUIDELINES FOR SWR DRAINAGE PIPE (SELFFIT)-EASY AND 100% LEAKPROOF INSTALLATION
STEP 1: CUTTING
Measure the length of the pipe accurately and make a mark using a fine-tip pen. The pipes and fittings should be compatible. Cut a pipe with a plywood cutting saw cutter or a wheel cutter. To achieve an optimal bonding area within a joint, cut the pipe as squarely as possible ( at 90 degrees). Inspect the end of the pipe accurately before making a joint. If you notice a crack and splintering then cut off a minimum of 25mm beyond the visible crack before starting.
STEP 2: DEBURRING
The contact between the pipe and socket of the fitting can obstruct due to burrs in and on pipe ends. These burrs should be removed from both in and outside the pipe by using a 15mm dia half-round file/a pen knife or a deburring tool.
STEP 3: FITTING PREPARATION
Remove the dirt and moisture from the fittings sockets and pipe end by using a clean dry rag. Dry fit the pipe to attain total entry into the bottom of the fitting socket and make a visible marking using a fine-tip pen or marker.
STEP 4: SOLVENT CEMENT APPLICATION
Evenly coat the pipe and socket end of the fitting with solvent cement. Avoid the use of thickened or lumpy solvent cement. There should flow consistency like syrup or paint.
STEP 5: ASSEMBLY
Rotate the pipe ¼ to ½ turn and immediately insert the pipe into the fitting socket. This motion will ensure the even distribution of cement within the joint. For proper setup, hold the assembly for 10 seconds.


